10 Steps to A Creatively Cropped Photo with Ribbon Background
How to creatively crop a photo
by Angela Spangler, Creative Team Member

by Angela Spangler, Creative Team Member

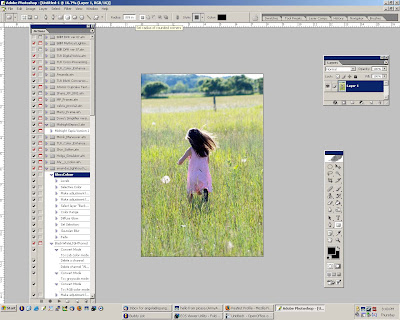
1. Make sure your photo is on top of a transparent layer.
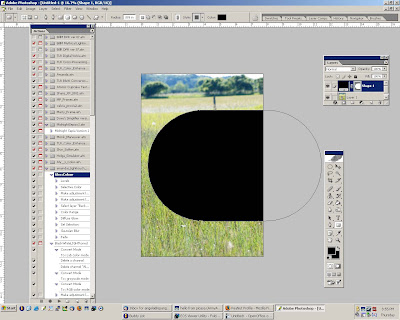
2. Click on your Rounded Rectangle Tool. Set the radius to around .889 in.

3. Draw your shape over the photo, making sure the shape is long enough to give you straight edges.

4. Go to Layer>Rasterize>Shape
5. Use the Magic Wand Tool to select the shape.
6. Go to Select>Inverse
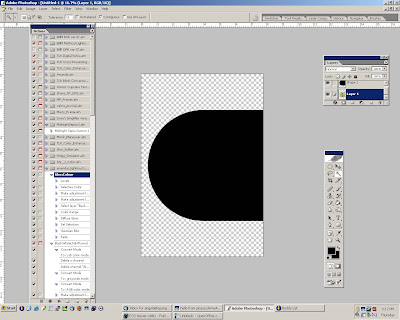
7. Go to your layers palette. Select the photo layer. Go to Edit>Cut (CTRL + X).
(Tutorial 3)
8. Delete the Shape Layer
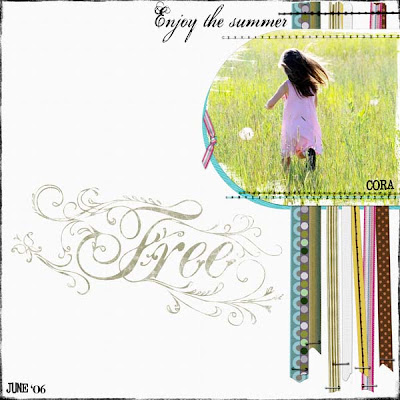
9. You now should have your photo in the desired shape.

Last step is to add your photo over your background with ribbons! Enjoy! If you enjoyed today's tutorial, please let our designer know~!


2 comments:
Beautiful layout - thanks :)
Thanks for this tutorial! I never knew that this was possible, but it gives so many new ideas!
Post a Comment