Now Create Your Own Striped Ribbon with this Easy Digital Scrapbooking Tutorial
Digital scrapbook element creation tutorial
for Photoshop Elements 5.0
by Julie Ann Shahin, founder and editor
for Photoshop Elements 5.0
by Julie Ann Shahin, founder and editor
 Custom ribbon
Click on image to enlarge
Digital guru Renee Pearson states in her book "Digital Designs for Scrapbooking" that the good news is that you don't have to decide between paper or digital scrapbooking. "How you use the tools at your disposal is up to you."
So here is a way to create ribbon{digitally} that looks like it has real texture.
Supplies used for the card shown above:
Photoshop Elements 5.0
Fun stamp, safety pin and torn cardboard by Tiff Brady
Inked edge, stitches, and flower by Jan Crowley, Little Black Dress kit
Tiny tag by Misty Cato, Eternal Romance kit
Free to be stamped words and Blossom by Jen Wilson
Ribbon by me, Julie Ann Shahin
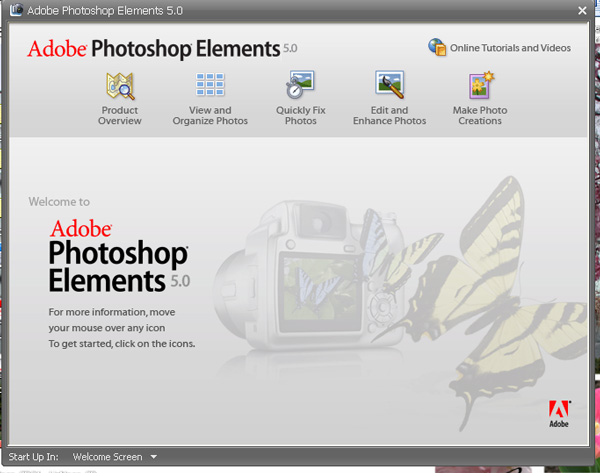
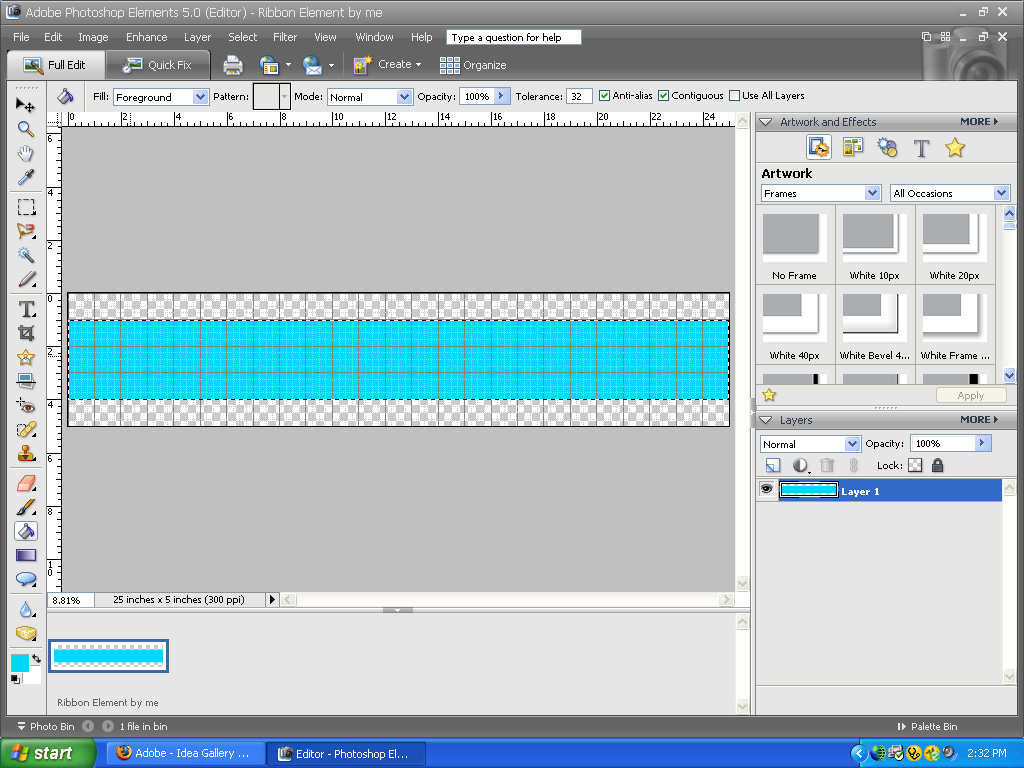
1. Open PSE 5.0 and click on "edit and enhance photos"
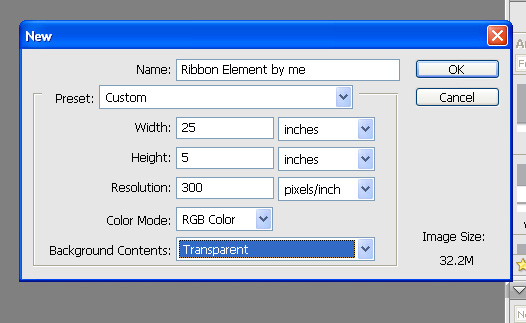
2. Click ctrl-N to create a new document. I wanted to make my document 25 inches by 5 inches because I often like to have my ribbon span over a two-page layout. In the example above, hoewever, I only end up using a seven-inch segment of my ribbon for the 5"x7" card.
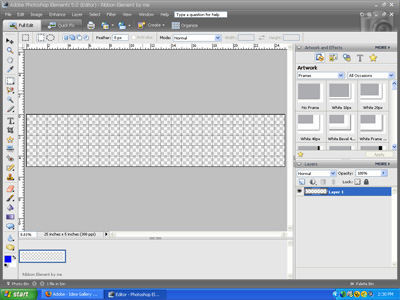
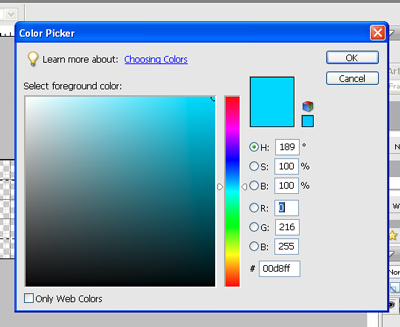
3. Go to View and turn on the Rulers and the Grid. I select the color that I want the background of my ribbon to be by double-clicking on the foreground color in the tool box. I take the rectagular marquee tool and use it to create a rectangle that is 2.5" x 25". This is going to be my ribbon.
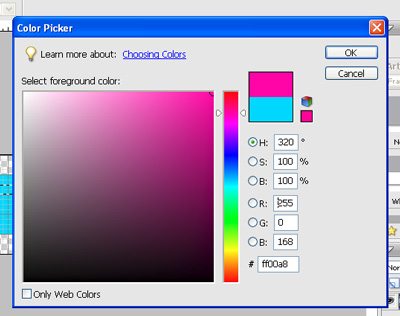
4. I use the paint bucket tool to fill my selection area. Press ctrl-d to deselect the area. Double-click on your foreground color in the toolbox again to choose a second color to be in your ribbon.
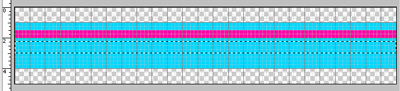
5. I made a 1/4" x 25" rectangle on my blue ribbon to add a stripe. Use the paint bucket tool to fill the selection with pink. Press ctrl-D to de-select.

6. Repeat step five, this time making a slightly taller rectangular box for a second stripe. (I made a .5" stripe below the pink stripe, leaving blue in between).
7. Select a color for the second stripe as you did in Steps 3 and 4. I wanted to use yellow for the stripe that will be below the pink stripe. Repeat Step 5 for a white stripe.

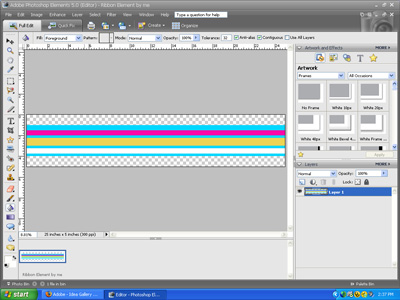
8. I want to turn off the guides now so I go to View and uncheck "Grids". Before I add texture, I make a copy of this layer by clicking ctrl-j
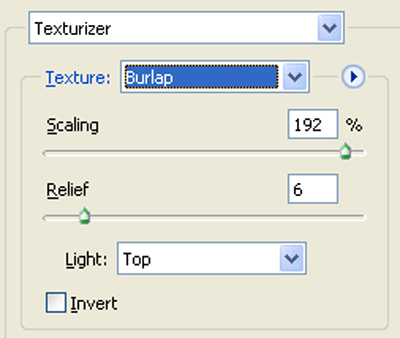
To give your ribbon some realism, make sure the layer copy is selected, go to Filter --> Texture --> Texturizer

9. In the dialog box that comes up, I changed the Scaling slider and Relief slider according to personal preference. Click ok to return to your document.

10. Next, I make a copy of that layer by clicking ctrl-j. I add a different texture to this new layer by going to the Special Effects menu on the right. It is the third symbol under Artwork. Choose Layer Styles, and in the second drop-down menu I chose Patterns. Double click on "Satin Sheets".
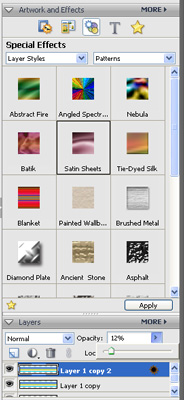

11. Next I change the opacity of this newest layer to about 12% allowing the first texture to show through. You can change the opacity to whatever looks good to you.

12. Your ribbon is ready to be used for your project. Flatten the layers, then drag it right onto your scrapbook page. You can see my finished project above in the first photograph.
Keywords: Adobe Photoshop, Advanced, Creative Team Member, Custom, Photoshop Elements PSE, PS7, Create Your Own Elements
Subscribe:
Daily Notifications
Enter your Email


3 comments:
That's awesome...I saw "Satin" once and lost it, and felt it too strong and didn't know how to do the texture under it. Very cool Tutorial. Thank you!
julie, you write the best tuts! even though you tagged this as advanced, i could follow it with my limited skills. thanks for helping me increase my knowledge by listing every little step - even if it's something so basic you take it for granted. for example, i've been banging my head since february over QPs. the first LO i tried was with a QP and i never did get it to work. now, i'm trying to make one for an exchange and can't get the photo hole to be transparent. at least four different people have told me 'make the BG transparent,' but none of them could say how. but here, your first screen shot shows me where! today, you are my favorite person! thanks a bunch!
:) M
Hey Julie,
Your Blog rocks!! Just wanted to share something with ya… one blogger to another…
There is this amazing site that I came across where u can make money by sharing information…check it out here’s the link http://www.myndnet.com/login.jsp?referral=alpa83&channel=al634
The coolest part is…every time ur information gets sold u get paid for it!!
I signed it for it.. very cool stuff… u can also mail me at barot.alpa@gmail.com
Cheers!
Alpa
Post a Comment