Using printable products
Recently I added some printable products to my store and I thought I'd double team that with a little tutorial on how to use them! The card printable packs come with a layered PSD file template, individual PNG files, a flat printable jpg for a pure digital card and what I'm calling a hybrid printable sheet.
The hybrid printable sheet is simply the template all ready with digital papers and elements and separated onto a PNG file. All you need to do is open, print, trim and assemble!
Step 1. Open your photo editor and open the hybrid sheet. It should look something like the screenshot below. Notice how none of the elements are touching. This is good for easy trimming of each piece.
Step 1. Open your photo editor and open the hybrid sheet. It should look something like the screenshot below. Notice how none of the elements are touching. This is good for easy trimming of each piece.

Step 2. Print the images out. I used photo paper but you can use white cardstock, sticker paper or transparency, etc. Once printed and trimmed with scissors/paper trimmer they should look like the example below.

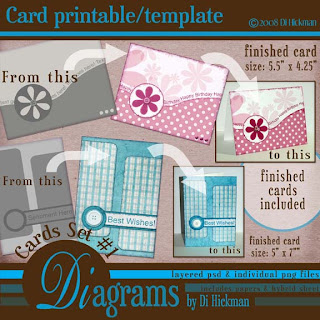
Step 3. Cut a piece of white cardstock to 5.5" x 4.25", score in half and fold. This is a standard invitation size cardbase and will fit an invitation or A2 envelope. Adhere the floral element to the top of the card base, then adhere the spotted paper to the bottom. There will be a slight overlap for dimension.

Step 4. Adhere the flower element to the circle, the adhere the circle to the card as shown below.

Step 5. Add an embellishment in the center of the flower. In the image below I used a Prima Center Kisses Gem, but you could embellish with a brad or button etc.

The hybrid printables make cardmaking super easy! I hope to have more in the store soon!!!
Di
Di


1 comment:
Love it Di!
Post a Comment