How to Create Gorgeous Holiday Photo Cards With These Simple Steps
 Using Your Computer to
 Make Lovely Holiday Photo Cards
Digital Tutorial

by Julie Kelley, Creative Team Member
Featuring November Sponsor April Staker
- Many online companies offer premade holiday greetings in different styles and patterns where you can simply upload your photo and type a message.
- I personally want much more control than that! I have many different holiday digi-kits that I'd love to use (and it could be any kit, not just holiday ones), and I
- also like the 5x7 size so that I can get a larger photo (for me, it's all about the cute picture). Here's how I created this year's holiday card.
First, choose the photo that you want to use, this will help you determine the orientation of the final card. My photo was portrait, so I decided to make the card 5x7 instead of 7x5.
So here's how I finished mine:
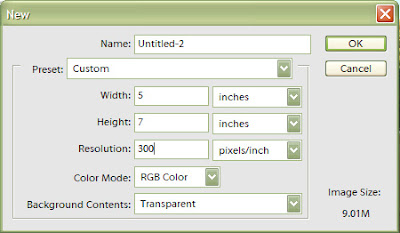
Start by opening a new document: File> New> Blank File> and type the dimensions (because this will be printed, you want the pixels/inch to be at least 300).
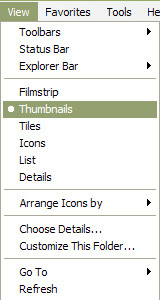
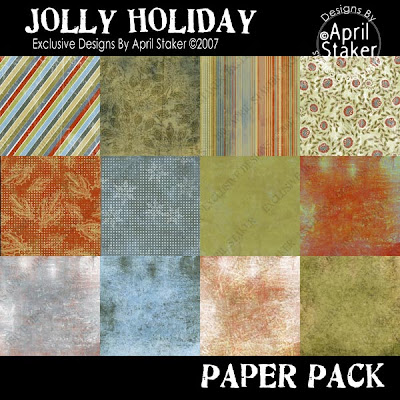
Next open the folder with your choice of kit. For this tutorial, I'm using April Staker's Jolly Holiday kit. I like to have the folder open, and also like to have the view on "thumbnails" so that I can easily see all the papers and elements that I can use. To set this, with the folder open, choose View> thumbnails

Mention this ad and get free May Arts Ribbon with your first order at The Shaker Box!
Place your elements and photo on the "page" until they are the way you want them to be... Here's a few things that I did...
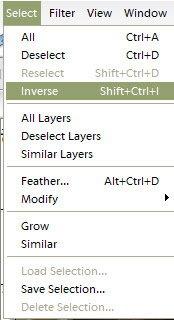
I wanted my photo to have a green mat on top of the crumpled paper, to do this, I place the paper directly behind the photo, then use my marquee tool to select the area that I want the mat to be. Then Select> Inverse will select the area that you want to cut, and then just hit the delete button (or Edit> Cut will also do the trick).
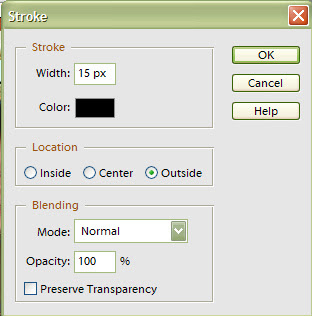
Another thing that I wanted to do to help the photo stand out more is to add a black border around the edge, the easiest way to do this is to apply a stroke outline around the photo. Edit> stroke (outline) selection and a box will open for you to chose the size of the outline and the color.
Add whatever text you'd like to have, and be sure to save it as you go along. When you are finished, save a flattened version and upload to your favorite online photo printing place. Last year I uploaded mine to Walmart, used the "ship to store" option which was far cheaper than one hour developing, and they provided envelopes for free.
Here's my final version:
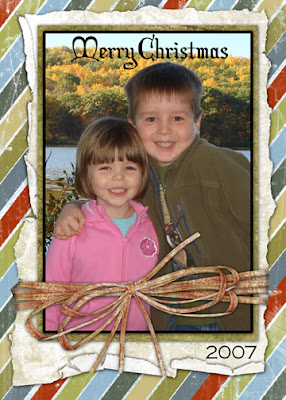
Supplies:
Adobe Photoshop Elements 4
papers and elements from "Jolly Holiday" by April Staker
font: Christmas Card



1 comment:
I just love how you used April's kit. Very cool font too! Thank you Julie K!!!
Post a Comment