Your First Layout in Scrapbook Max
I was recently given a copy of Scrapbook MAX and was a little hesitant to try it our because I am a die hard Photoshop girl. I was pleasantly surprised at how easy it was to use. Because I have used Photoshop for so long I had to get use to the easy to use commands in Scrapbook MAX but once I put myself mentally in the position of a beginner digital scrapbooker I found it extremely easy to use and I would urge anyone to try it out.
When you start up SBM you are given the option of Creating a New Scrapbook or Opening a saved Scrapbook. You want to click on "Create a New Scrapbook".

The next window that pops up allows you to select a theme from one of the already installed ones or you can create a Blank Scrapbook, which is what we are going to do.

The default page size for SBM is 8x8 and the resolution is 200 dpi. You can keep it like that if you wish or if you want to change the size to 12x12 you need to go to the top Menu bar and go PAGE>SETTINGS.

Once the settings window pops up choose the size you want from the pull down menu. You can also change the resolution to 300 dpi, once you do that you will see that the page size will turn to "Custom"

Now its time to place your background paper. Click on the Photo Icon in the toolbar to bring up the Select Photo Window. SBM comes with a bunch of "Booster Packs" or kits with many many background papers to use or you can use your own stash of digital kits. Just use the browse feature to find it on your computer.

Once you have selected your paper it will then open in another window. This window allows you to change the transparency of the paper, the shape and add a shadow. We don't really need to worry about that for our background paper though.

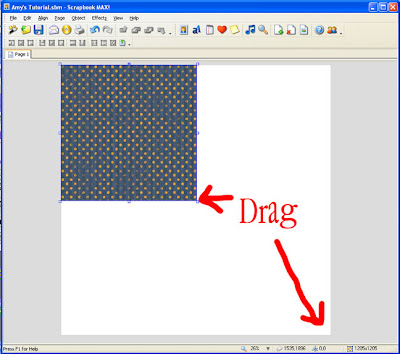
When your paper shows up on your layout you may need to resize it. To do this make sure the paper is selected then grab the bottom right corner box and drag it to the bottom right corner of the white box. It keeps the right proportions so you don't have to worry about holding any other keys down.
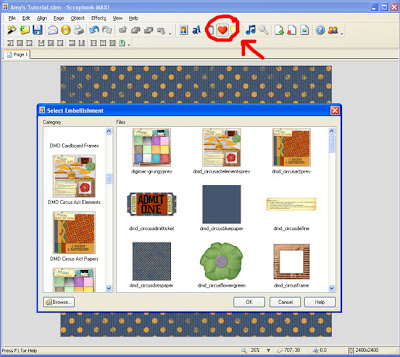
Next thing you want to do is add some embellishments. By clicking on the "Heart" on the toolbar you will open up the Select Embellishment window. Again you can use the many many embellishments that come with SBM or you can search and find your own stash and use those.
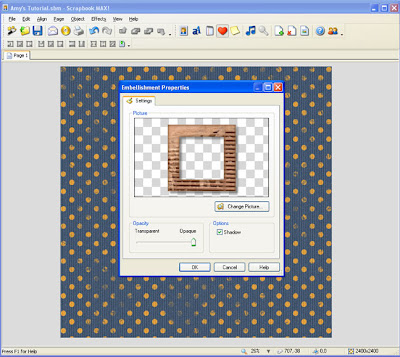
Once you have clicked the embellishment you want the Embellishment Properties window ill open up and this is where you can add a shadow etc.
Repeat the last two steps for all your embellishments for your layout. They can be easily moved around on the page and adjusted how you like. Use the Photo button again to get your photos and add them to your layout. Use the EFFECTS menu for any photo editting you may want to do. To send your photo behind a frame or another object go to EDIT>ARRANGE>SEND BACKWARD and then you can position it to where you want it to go.
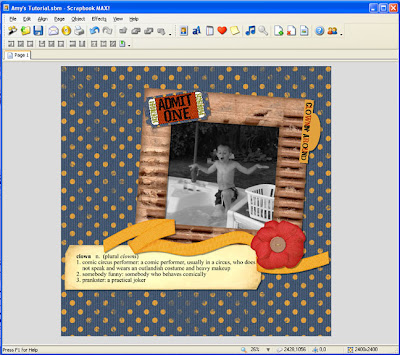
If you would like to add a caption to the page like a date or something like that you can click on the "aA" button on the top menu bar and then insert and customize your text then arrange it on the page how you like.
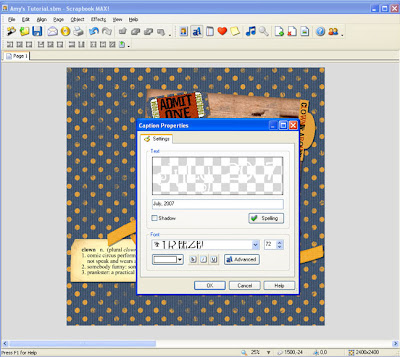
You can use the Caption option again if you would like to add your title or you can use the Embellishment button and go find your favourite alpha elements and use them instead. SBM has many alphas that are built in as well. To add journalling to your layout click the Notepad icon in the top toolbar, fill in your journalling and customize it how you want.
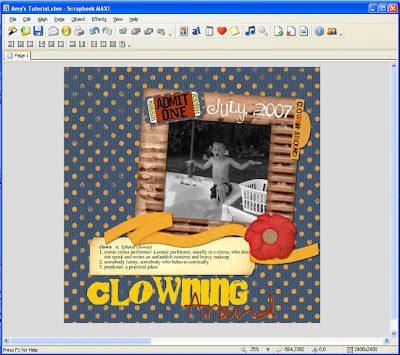
When you are finished with your layout go to EDIT>PUBLISH TO>Images Then choose where you want to save your layout and the quality of the output. And thats all there is to it!
There are a variety of other more advanced features in Scrapbook MAX that you can play around with once you get the hang of things. Enjoy!
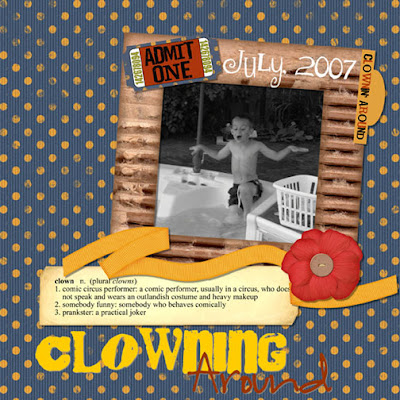
Credits: Circus Act kit - Digi-Mac Designs
Fonts - Freeze, Highland Perk and Cry Kitty
Scrapbook MAX software
If you enjoyed today's tutorial, please reward Amy's hard work with a comment! Thanks!!!


1 comment:
What a fun kit Amy!!!
Post a Comment