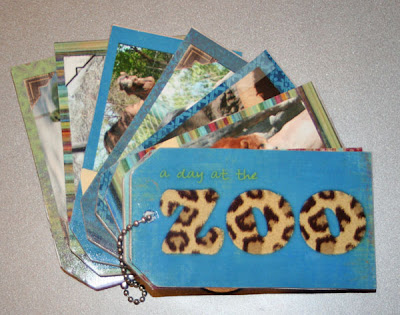
13 Inspirational Steps to a Fabulous Zoo Trip Tag Album Scrapbook!
Make a Mini Chipboard Album
to Remember a Special Trip!
Introducing New Creative Team Member:
Sarah B. Meyer

to Remember a Special Trip!
Introducing New Creative Team Member:
Sarah B. Meyer

Supplies:
Maya Road Chipboard tag album (2.5" x 4")
Modge Podge
foam brush
scissors
4x6 prints
Cover:
paper from His Attire: Tuesday by Jen Wilson (www.jenwilsondesigns.com)
Always Wild Alpha by Michelle Pieters (www.gottapixel.net)
Pea Shirley font
Interior pages:
Paper from His Attire: Tuesday by Jen Wilson (www.jenwilsondesigns.com)
Elements from Hold it Downs Neutral by Jen Wilson (www.jenwilsondesigns.com)
Screenshots are taken in Photoshop CS3.
1. Open up a 4x6 inch 300dpi canvas (vertical) in Photoshop. Since the pages are so small, I can fit 2 on one 4x6 print. To easily see the guides, fill the background with any color. I set up guides so I could easily see what portion of the page I wanted to see (in Photoshop CS2, go to View >> New Guide to set them up). I set Horizontal Guides at .25, 2.75, 3, 3.25 and 5.75 inches.
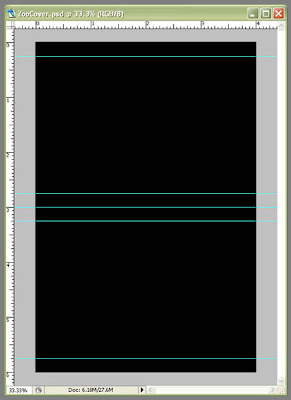
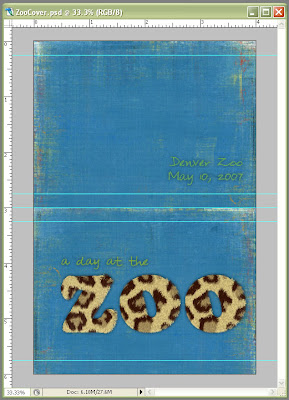
2. The chipboard album I chose has 8 pages, so I'll make 16 little pages on 8 - 4x6 canvases. I wanted a front and back cover, which I'll do first.
Bring all the papers you'd like to use in your album onto the canvas.
The paper I chose for my cover has a lot of nice detail along the edges, so to keep it visible I resized the paper to 4"x4" (Ctrl+T, click the link between W and H and change the percentage to 33.4). I duplicated the reduced paper layer and moved it in place for the other cover, brought in a fun alpha for the title, and typed in additional text.
3. The remaining 14 pages will all be formatted similarly to ensure this is a quick project. Bring in all the background papers you want for the interior pages on to the canvas. Select all the papers and reduce them in size to fit. I reduced all by 50% to create 6x6 inch papers.
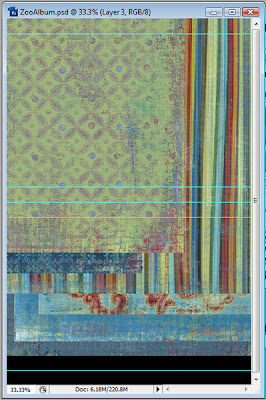
4. Then your Select the move tool (shortcut V) and then select all the paper layers and the background layer in the layer palette. Then I aligned them to the bottom of the canvas so I had the edging detail on 3 of the 4 sides. As shown in the screenshot below, click the appropriate align buttons to quickly get your papers exactly lined up with the background.

5. To make this quick, I want to set up a template for all my photos. On a new layer (on top) I draw a rectangle with the shape tool that has the proportions of a 4x6. I centered it on the background layer using the align buttons. You can add on a drop shadow at this point too if you'd like. Then duplicate it for the second page on the print.
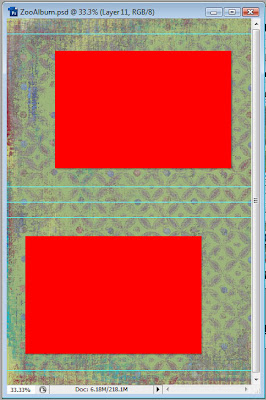
6. Bring in any elements and embellishments you'd like to use. I didn't want all the pages to look exactly the same so I chose 2 sets of photo corners and 2 kinds of tape. Arrange them around each of the photo spaces but inside the guides.
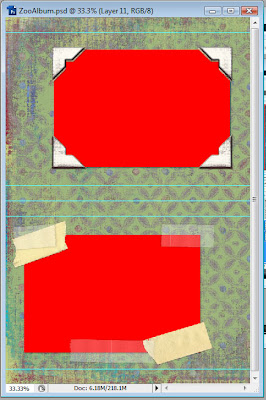
7. Now it's time to bring in your photos! I picked 14 of my favorite photos from our trip and brought them in to the Photoshop file. Half the photos will be on the upper page and the remaining 7 will be on the lower page. I resized each photo separately so the focus of the photo was just smaller than the rectangles created in step 5.
Arrange the photos for the upper page just above the layer with the top rectangular template and the remaining photos just above the layer with the bottom photo template. Use Clipping Masks to attach the photo layers to the template so we will have nicely trimmed photos. To create a clipping mask in Photoshop click Alt+Ctrl+G or right click on the layer just above the template and select "Create Clipping Mask." Repeat this process for each of the photos.
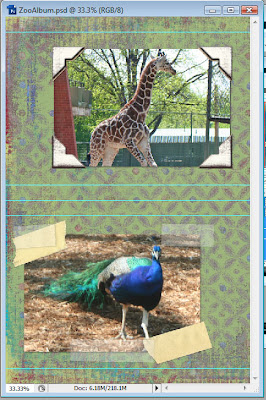
8. So that each of my pages looks different I just alternate the visibility of the layers, selecting the elements, photos and paper I want for each of 4x6 prints. Save each variation as a new jpeg page to print. Here are a few of my pages.
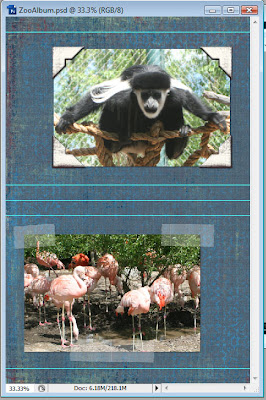
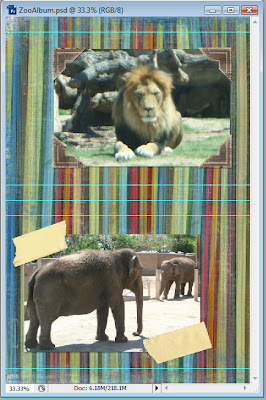
9. I got all of the pages printed by a local photo processor and once I got them home, I got out my other supplies: scissors, the chipboard album, Modge Podge and a foam brush.
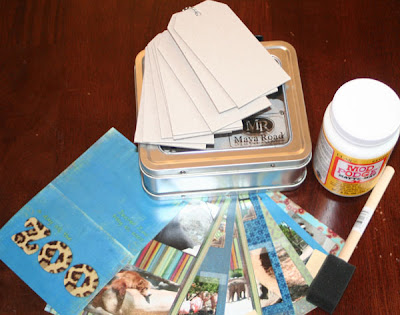
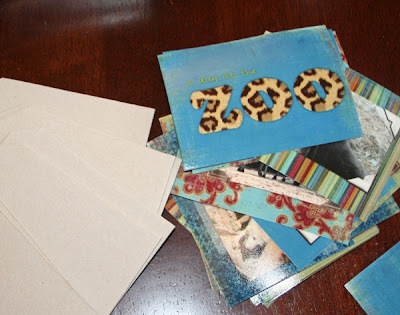
10. Cut each of the prints in half. I used my cover print as a template because it was easy to see the 3 inch dividing line on the papers. Also remove the chain from the chipboard album to separate the pages.
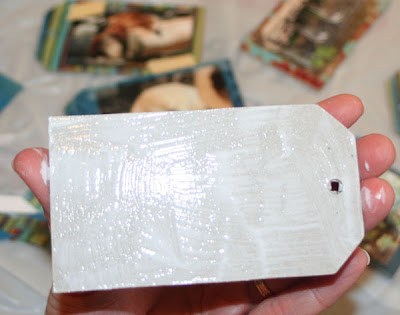
11. Apply the Modge Podge with the brush on to one side of the chipboard piece. Place the photo on top of wet glue and hold it towards a light to ensure that it is nicely centered. My prints were slightly narrower than the chipboard page, so I centered it horizontally too. This difference won't be noticeable once the edges are sanded. Repeat for the front side of each chipboard page.
The Modge Podge dries quickly, so by the time I was done attaching the prints to the front of each of the chipboard pages, the glue was dry enough to trim the first pages I had done. With scissors trim to the edge of the chipboard. I used a ballpoint pen to punch the hole for the chain.
12. Repeat step 11 for the back of the chipboard pages. I checked what was on the front to ensure I was happy with the arrangement of the pages.
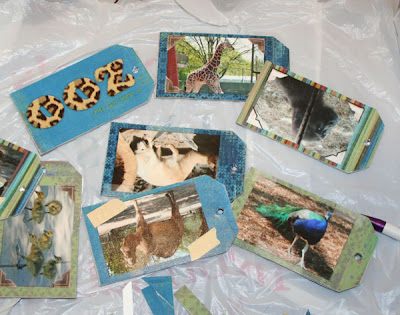
13. Using a fine grade sandpaper, smooth the edges of the photo so it blends into the chipboard. I used a small rolled up piece of sandpaper to sand the holes for the chain. Reattach the chain and enjoy your completed album!


No comments:
Post a Comment