How to Use Your Software to Manipulate a New Look for Your Photo
Note: Subscribe to Scrapbook Dimensions Magazine by June 1st and receive the free digital kit b y Carrie Stephens! The kit will be GONE after June 1st!!!
Digital Photography Tricks
by bucket aka Susan Rodriguez
(especially cool for Halloween!)
by bucket aka Susan Rodriguez
(especially cool for Halloween!)
For this tutorial I thought I would do something a little different and fun. I am not the best photographer but I do have to say I love poking fun at my photos. Have you ever gone to a carnival or an amusement park and had someone draw your picture but it never quite resembled you at all? This tutorial will show you how to create a fun look out of your digital photographs.
Below is my original photograph.
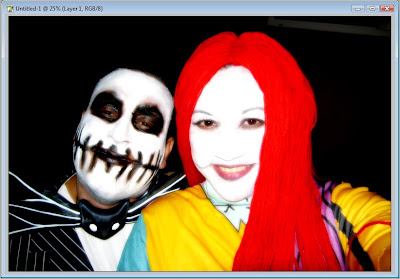
We will be using a liquefying filter to create a fun looking photo. Click on Filter -> Liquefy. Below I have selected the tools I will be using in this tutorial.
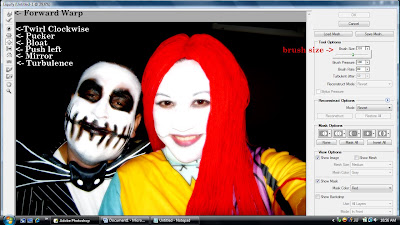
Around the eyes I used the bloat tool. I adjusted the brush size just big enough to fit around the eyes. I then took the forward warp tool and just dragged it up above the eyebrows a bit. I also used the forward warp tool on the noses just to make them a bit pointy. ** Note** if at any time you feel that you want to undo anything you can use the reconstruct tool located right underneath the forward warp tool. Continue playing with the different tools to get the look you are looking for. Below is my almost completed drawing. Pretty scary looking isn’t it.
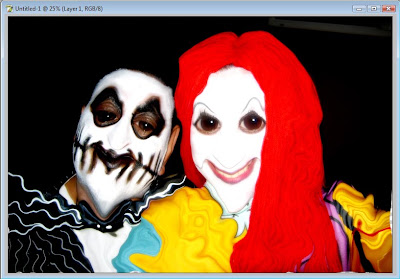
For a different look I decided to give the picture a glowing edge filter. Create a duplicate layer (Ctrl-A, Ctrl-C, Ctrl-V) and click on Filter -> Stylize -> Glowing Edges.
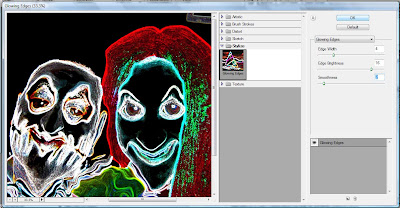
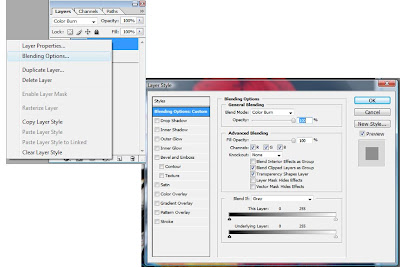
To make this picture more fun I added a color burn blending mode. To do this right click on the duplicate layer, Blending Options, drill down on blend mode and select color burn. Play around with the opacity until you get the look you are looking for.
Below is my final project, it’s something fun and different to do with your photographs. Hope you enjoyed it

Please leave feedback for Susan! Thanks!


1 comment:
Thanks for this great tutorial Susan. Will definitely try it.
Marg
Post a Comment