How to Easily Create Flow with Beautiful Flourish Frames
Our focus on the Design Principle of Flow Continues!
Flourish Frame Tutorial
by Susan Rodriguez, Creative Team Member

Flourish Frame Tutorial
by Susan Rodriguez, Creative Team Member

I’m sure a lot of you love the look of a frame around your photos and have probably even download quite a few, but have you ever wanted to make one of your own. In this tutorial I will guide you in creating your own.
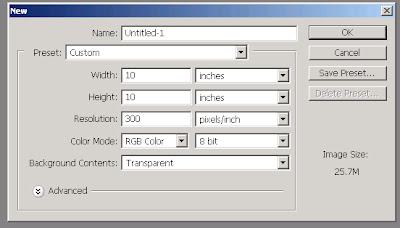
First create a new image [Ctrl-N]. I would suggest creating a 10x10 image with the resolution at 300 dpi.

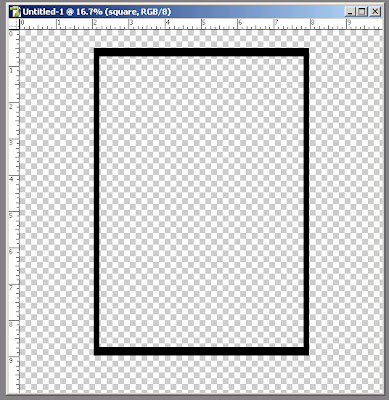
Create a square, any size that you like, mine is just about an 6 x 8 but it really does not matter since you can always scale it to the size you like afterwards. Just make sure it’s big enough for you to work with.

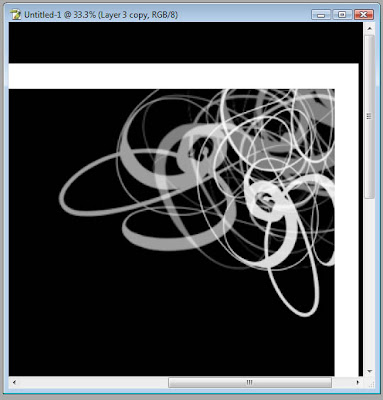
I want to add some curvy swirls to my frame. I downloaded some squiggle brushes from the internet that I thought would be prefect for this [http://www.redmoonstudios.com/buddha/downloads/brushmenu.html]
Select a brush and set the opacity to 100% and the flow to 50%. Setting the flow to 50% will let you build upon the brushes, some will be a bit more faint while others will be a bit darker. In the example below one brush is set at a flow of 30% while the 2nd brush is set at a flow of 62%, and then the 3rd is set at a 86%.

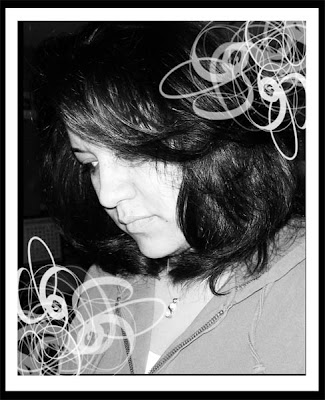
You will have to play around with the settings and the brush sizes but once you get the hang of it you will love making your own frames. Below is my final project.

If you are inspired by today's tutorial, please leave a comment!!!


7 comments:
Hi There,
I was wondering if you would like to exchange links? I have a new scrapbooking blog at www.mistypink.net
I would the chance to swap links to help get connected with other scrapbooking bloggers.
Thanks
Theresa
Thank you for the great tip!
ok, i'm inspired, but i'm also really new to creating, so ...
how do you create a square? what exactly are brushes and how do you use them? maybe you could write a beginner tut with each tiny step included ... tfs!
:) M
Hi lvmommy22,
in the sidebar, click on the label "Brushes Tutorial" (they are listed alphabetically). The first tutorial you will see is a similar tutorial to this one with more scrrenshots and more steps. You can also scroll down to the December 11th Tutorial by Beth Price and that gives more info for beginners on how to load brushes. A brush in digital scrapbooking is very similar to stamping in traditional scrapbooking but you have much more options as you control the size, the color, etc. If you have more questions, please email me at thedigitalproject@gmail.com so I can help you.
oh, love it!
Thanks for the info, but when I went to the site mentioned, 'download' only led me to a bunch of html - - - no artwork. I'm on Mac. Does that make a difference?
Hi Gail,
when you go to that particular site it seems that in order to download the digital brush, you have to right-click on the link that says "download" and then choose "save as" or "save target as" or "save link as" and save it to your desktop. It will download properly then, at least it did for me that way.
Post a Comment