Intimidated by Photoshop? Let us show you how to create fun scrapbook pages
Hybrid scrapping is all the rage right now. Learn this easy technique from our featured reader!
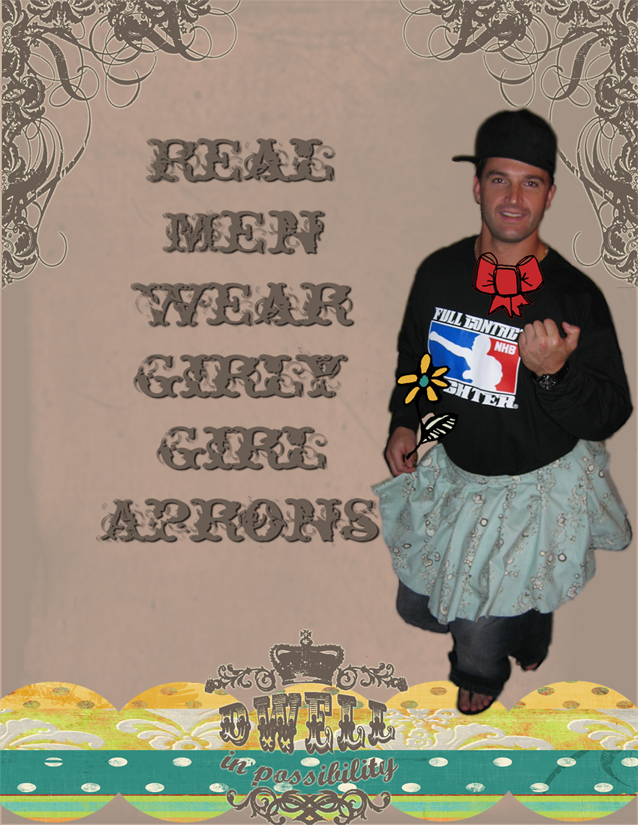
Featured Reader: Gina Lideros
Featured Reader: Gina Lideros
Basics Tutorial
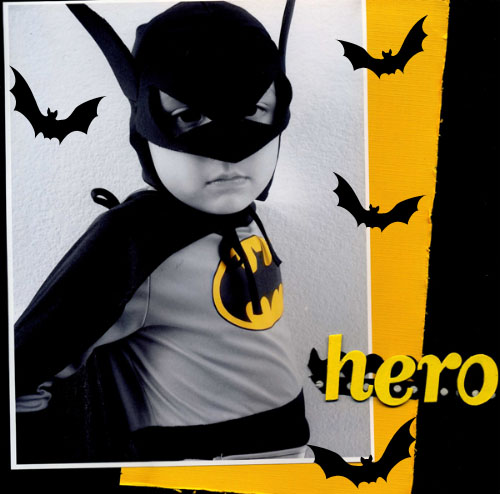
This layout combines traditional scrapping with digital techniques.
Instructions:
1. I started by altering my photo in adobe photoshop elements, using a
spot color
technique.
2. Next, I printed out the photo 8 X 10
3. I layered the photo on cardstock and embellished with ribbon & letters
4. I scanned both sides of the layout and stitched together in
Photoshop elements.
5. I downloaded clipart (bats) from Microsoft Picture it! Publishing
platinum and added
them digitally to the layout.
Title: Hero
Supplies:
Adobe Photoshop elements
Microsoft Picture It! Publishing Platinum
Bazzill: black cardstock
Paper Reflections: yellow cardstock
Heidi Swapp: paper distresser
Plaid: paint
Scenic route: chipboard letters
Other: ribbon
Categories:
Hybrid
Beginner
Featured Reader
Photoshop Elements PSE
Photoshop Beginner Tutorial by Susan Rodriguez,
Creative Team Member
Most people that I know open up PhotoShop take a quick glance at their screen, and run away screaming. Photoshop can be a bit intimidating, at first glance, but once you get the hang of it you will learn to love it.Creative Team Member
Let’s begin by looking at the main PhotoShop screen.

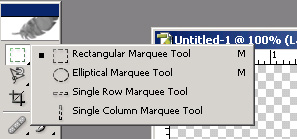
You will notice a toolbox on your left. Right click on a few of the icons just so that you can take a look at what functions you have available. You will notice many of the icons have more then one function available. For this lesson we will concentrate on the selection tool.
Open up at least 2 digital paper elements from your favorite digital scrapbooking kit. Then create a new image, click on File > New.
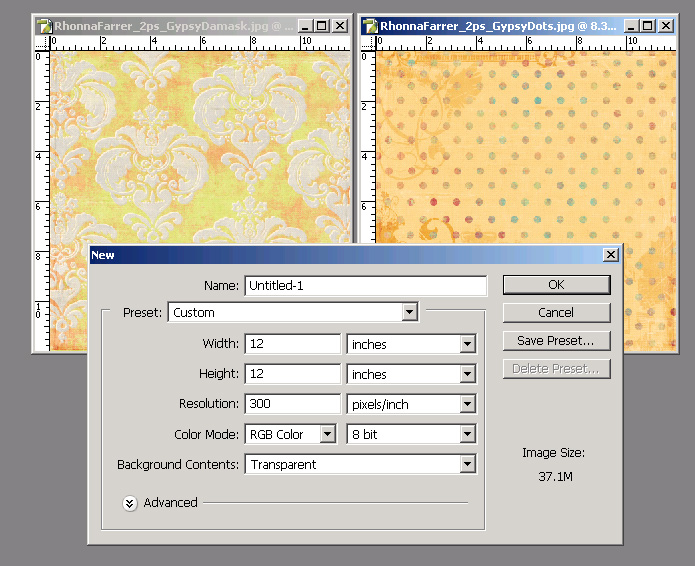
Make sure the image properties match that if your digital paper elements image. Not sure now to do that? Click on one of your images. From your top menu bar click on Image > Image Size. These are your image properties.
Now on to playing with the selection tool. Click on the selection tool image and make sure you have the rectangular marquee tool selected.
Click on one of the digital paper images. While clicking on the left mouse button make a square any size. Press the shift button and make another square inside the 1st square, it’s ok to over lap as this will connect the squares. See example below.

Make a few more just for fun. Once you have finished click on Ctrl > C to copy that selection. Click on your new blank image and click on Ctrl > V to paste the selection.
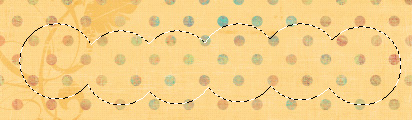
Now click on your 2nd digital paper image. Select the elliptical marquee tool. Do the same thing as you did with the last image. Create a circle by holding down the left mouse button and dragging your mouse out. Click on shift button and try creating a few more circles, make sure they over lap as this will connect them. See example below.
Once you have completed making your circles click on Ctrl > C to copy the selection. Click on the blank image and click on Ctrl > V to paste the selection.
Play around with the selection tool. Try creating a Square, then add in a few circles and then maybe some squares. One thing to note it’s OK to make a mistake you can always click on Ctrl > D to deselect your selection and start all over again or you can always undo your last step, Ctrl > Z.
In this example I created a circle border using the elliptical marquee tool.
Just have fun with it, experiment and create your own fun borders.
Categories:
Adobe Photoshop
Beginner
Create Your Own Elements


1 comment:
This is a super tutorial for beginners JA! I remember when you took the time to challenge us over at SBO to try a digi lo. You wrote the directions out step by step and it worked like a charm! The only digi lo I ever did, but I couldn't have done it without your precise instructions! :)
Post a Comment