How to Use Photography to Create Paper Effects

Visit our Sponsor: Jill D-Zines.

Visit Our Sponsor: Angela Sharrow


Visit Our Sponsor: Angela Sharrow
2. You will be using the magic wand tool to extract texture from your photograph. Select the magic wand tool.

3. Click on the photograph several times. Each time more of the texture will be selected as indicated by the moving lines that look like "dancing ants."
Click on image to enlarge.

4. Click ctrl-c to copy. Then go to File-->New--> Image from Clipboard. This command copied your selection and pasted it into a new document.

5. Select the eraser tool with your new image appearing in the photo editor workspace. From the drop down menu, select "Faux Finish Brushes".

6. With one of the brushes selected based upon your preference, erase parts of your image at random. Adjust the size of the brush to your preference.
Click on image to enlarge.


7. We are going to alter this texture by going to Filter-->Texture-->Stained Glass. Click OK.

Click to enlarge.

8. Crop the photo. Enter Custom Aspect Ration. Width 12, Height 12, 300 pixels/inch. This is your new overlay that we will use to texturize paper.

9. Open a solid background paper or create a new layer and fill with a solid color. Drag your new textured overlay onto this paper.
Click to enlarge image.

10. Lower the opacity of your overlay according to your own preference.

11. Try different modes such as color dodge.

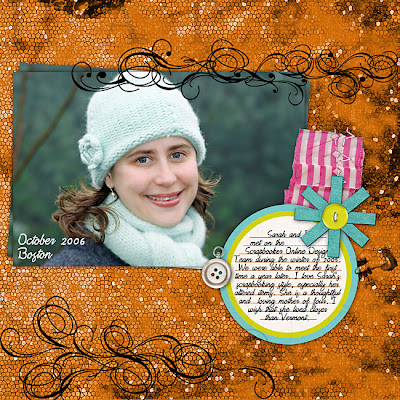
12. I settled on the luminosity mode. The paper is ready to use in your layout!
Feel free to experiment and play!


Credits:
Rhonna Farrer New Year
Tia Bennett Dolce Love Accents
Brent Boone This N That
If you like this tutorial, please leave us a comment. You will also enjoy our weekly newsletter!


2 comments:
Cool Tutorial - love the final result :)
love this tutorial.. thanks.
Post a Comment