Basic Editing You Will Want to Apply to Every Photo
Digital Photo Editing Tutorial
by Julie Ann Shahin, Creative Team Member
by Julie Ann Shahin, Creative Team Member
Do you wonder how certain photographers seem to always have flawless photos?
I would wager that a little bit of work goes into almost every photo once it is downloaded to their computer. My photos are far from flawless so here are a few tips of basic editing that I do to almost every photo that I print and/or share with others. If you have a tip you would like to share, please do so in our comments section!
I would wager that a little bit of work goes into almost every photo once it is downloaded to their computer. My photos are far from flawless so here are a few tips of basic editing that I do to almost every photo that I print and/or share with others. If you have a tip you would like to share, please do so in our comments section!
1. Open your photo in Photoshop Elements. Go to File--> Duplicate. Close your original photo and we will work with the duplicate. My next step is to always make a duplicate layer and any changes will be made to that layer, not the original layer.


3. With the photo layer selected, go to Layer-->New Adjustment Layer-->Levels. We are going to adjust the levels and it is best to do this on a new layer. By working with layers, you can go back at anytime to a saved .psd (photoshop document) file and change the layers.
Click on image to enlarge.

4. Often I use the Auto button to adjust the levels. If you are not happy with the Auto feature, just click on Reset. You can also drag the far left and far right sliders in a touch. Click OK when you are satisfied.

5. In PSE 4.0 and below, you do not have a curves feature so this is what I do. (If you have PSE 5.0 or above, you can edit the brightness and contrast through the Enhance Photo/Curves feature. )
- In PSE 4.0 or below, go to Layer-->New Adjustment Layer-->Brightness/Contrast. I enter the value 50 for brightness and 40 for contrast.

6. You may lower the opacity of this layer according to taste.

That's it for a basic editing that I do to almost every photo. You may do it slightly different if you have your own methods. You can play around as much as you like. Your possibilities are endless with Photoshop and Photoshop Elements! Have fun and enjoy your new digital knowledge!

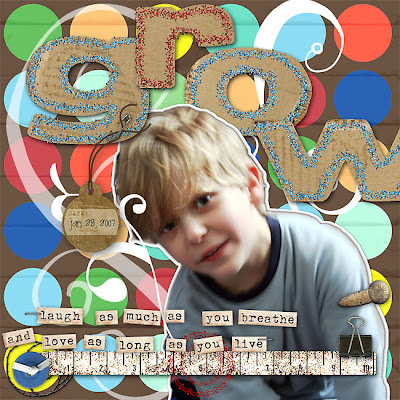
Credits: Michelle Underwood Random Thoughts collection, Gina Cabrera Binder Clip & DateTag, Tiff Brady Safety pin; Quote art from Designer Digitals; Button (red) from Shabby Princess Seasonal Sampler; Photo prong from Debra Tope Noni; Staple from Karah Fedricks I Love; Brushes by Rhonna Farrer Round and Round; Blue button by Corinna Nielson Cool Buttons; Sloppy circle stitching by Kim Christenson Longboard; Cardboard Alpha by Amanda Roberts Bundle Up Baby; Swirl brushes by Fee Jardine

Visit Our Sponsor: Angela Sharrow


No comments:
Post a Comment