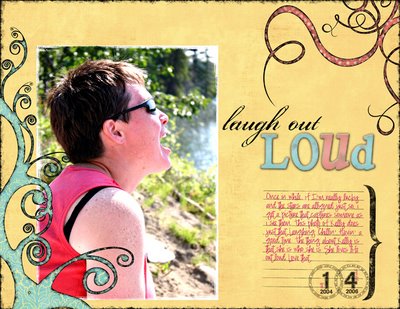
Use brush for custom paper swirls
Using Brushes For Custom Paper Shapes and Swirls Tutorial by Cammy Plummer, Creative Team Member
Title: Laugh Out LoudInstructions:
- Install desired brushes. Create a new layer and place the brush image on your page in the appropriate size and location.
- Lay a piece of patterned paper over the brush image and group (Ctrl + G). You can then resize or move the patterned paper to your taste. When you are satisfied with the look, merge the two layers (Ctrl + E).
- To "ink" the edges, use BriAnna Shultz's Inked Edges Action, available at Atomic Cupcake.
Credits:
Patterned Paper: Jen Wilson, Amber Glow, Scrapbook-Bytes (yellow); Anne Langpap, March Free {Pea} Digital Kit, Two Peas in a Bucket (pink); Holly McCaig, Spring is Coming Paper Pack, Holly McCaig Designs (green)
Brushes: Jason Gaylor, Fresh Foliage, Designfruit
Inked Border: Shabby Princess, Shabby Borders {Collection ONE}, Shabby Princess Designs
Journaling Stamp: Katie Pertiet, Journaling Stamps, Designer Digitals
Date Stamps: Katie Pertiet, Date Stamps Vol. 4, Designer Digitals
Chipboard and Inked Edges Actions: BriAnna Shultz, Atomic Cupcake
Fonts: Times New Roman, SP Purkage; Porcelain


1 comment:
Brilliant, love the tutorial... thank you.
Post a Comment