Creating Custom Digital Elements for Scrapbooking
DIP Digital Tutorial for Making Custom Floral Overlay
by Beth Price, Creative Team Member
by Beth Price, Creative Team Member
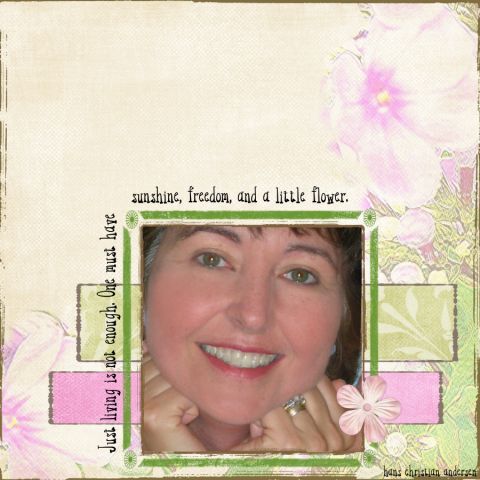
...To further the interest
of the flowers,
I decreased the brightness setting
and increased
the contrast
slightly...
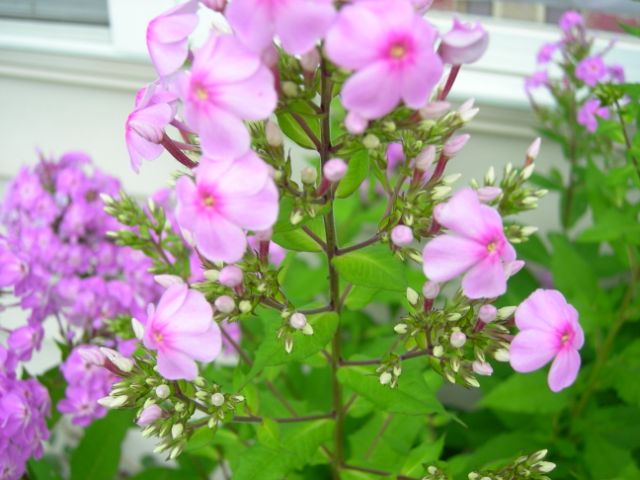
 In this layout, the floral overlay was created from a photo from my own garden. It makes the page a bit more special to me.
In this tutorial I tell you how I went from this pretty photo to this elegant layout using Digital Image Pro 9 to make my own custom floral overlay.
- First be sure to save a copy of the original photo.
- I enlarged the photo and cropped until I liked how it was framed in a 12x12 page.
- Increase the contrast, then using Filters in Digital Image Pro, I chose “Highlight Edges”
- Then using the color selector (magic wand) I selected some of the darker green and deleted out as much as I thought looked good to me.
- I then went to Effects and selected transparency. Set the transparency to 50%. You’ll probably want to play around with your own image from here. You can increase the contrast more, increase or decrease the transparency.
- To check your overlay, select “insert shape, square, and fill with a color. Place this behind the overlay and you can see the overall effect.
Supplies:
Michele Coleman: papers (Guy Thing, tutti fruiti)
Mary Ann Wise: green frame
Shabby Princess borders and frames
Kay Miller brushstroke frame
Katy Pertiet paper flower
Keywords: Advanced, Blend Mode, Creative Team Member, Custom, Digital Image Pro DIP, Photo Editing, Artistic Photo, Create Your Own Elements


1 comment:
Great tut.
Any idea how to highlight edges in Photoshop CS2? I can't figure it out.
Post a Comment