Beginner Tutorial for Creating Digital Paper and Elements
Basic Digital Paper and Element Creation Tutorial for Beginners by Angela Spangler, Creative Team Member
I created one patterned paper and one element for this tutorial.
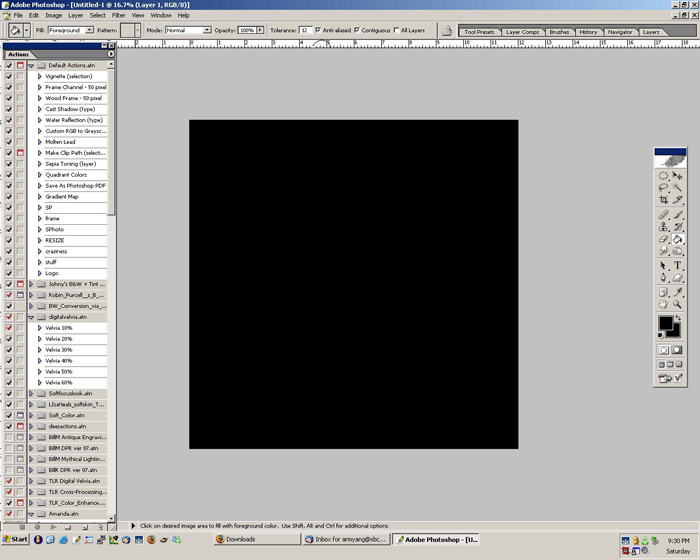
Papers are pretty easy. I started out with a 12x12 inch canvas that I
colored black with the paintbrush tool.
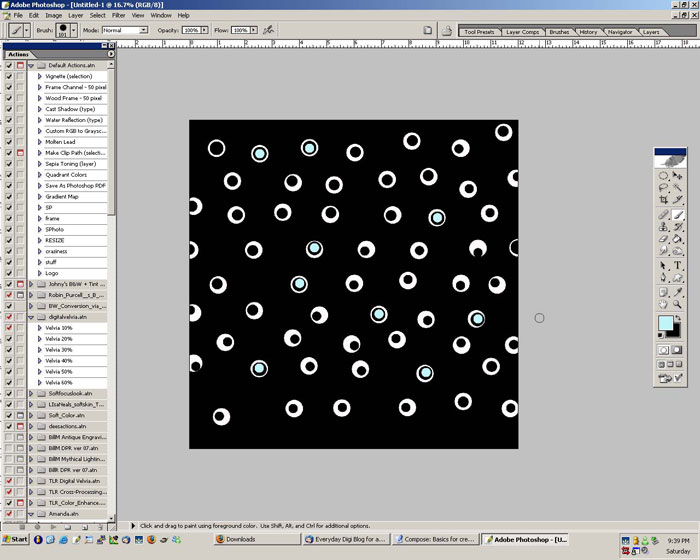
To make a simple pattern, I used my hard round brush to make circles on
the paper. You can make them uniform or scattered. This is where your
imagination and creativity come into play. Just have fun!

Now, add other shapes or brushes to your paper. I used smaller sized
brushes and different colors.
Brushes are really fun and easy to create in Photoshop. I made a simple
text brush, but you can make just about anything into a brush. Just make
sure that your subject isn't bigger than 2500 pixels on either side.
That's the maximum size of a brush, and it won't like it if you try to
make something bigger into a brush.
First, decide what you want to make into a brush. I used the word "hello".

Then Select All.
Then click Edit>Define Brush Preset
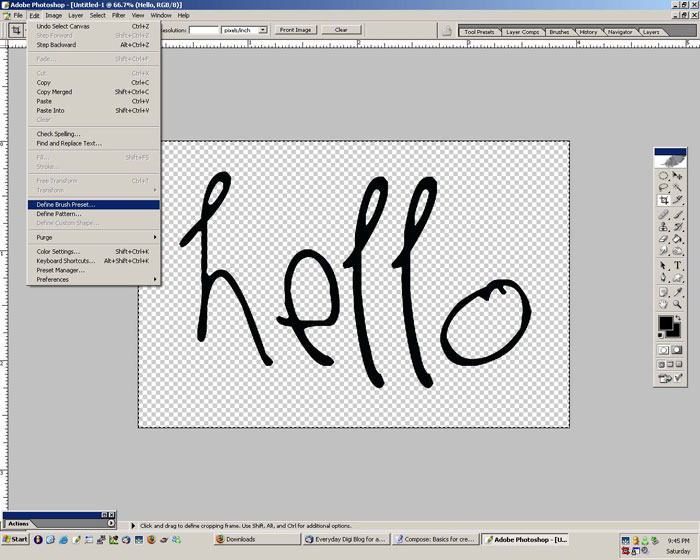
Name it whatever you want that's easy to remember.
Now your brush is ready to use. Make sure you save your brush before you
close Photoshop.

Resources:
Creating Custom Papers with Paint Shop Pro
Create A Photo Alpha with Paint Shop Pro
Create a Photo Prong with Digital Image Pro
Create a Photo Prong with Paint Shop Pro
Keywords: Adobe Photoshop, Beginner, Creative Team Member, Custom, Create Your Own Elements, Digital Image Pro DIP, Photoshop Elements PSE, PS7, Resources


No comments:
Post a Comment