How to Create Frameable Art Gifts To Give From the Heart
Do Your Holiday Shopping with Our Sponsors!

How to Create A Festive Art Piece to Frame
for Gift-Giving:
Hybrid Scrapbooking Instructions
 by Julie Kelley, Creative Team Member
for Gift-Giving:
Hybrid Scrapbooking Instructions
by Julie Kelley, Creative Team MemberLooking for a wonderful gift for the holidays? Why not use one of your favorite digital kits to create a framed keepsake holiday decoration?? This is a quick and easy gift for almost anyone on your list.
- We had a couple packages of frames that we hadn't used.
- The frames are 8x10, and double matted to fit a 5x7 photo.
- I loved the dark blue inside mat, and thought it would work well for this project...
Here's how I got started...
- To create the image, open a new canvas that is 6x8 to give you some overlap to make it easier to place into the frame. File>New>Blank File, then input the size you want.

- I created a 5x7 area and filled it with black so that I could see where the "inside" of the frame was.
- There are a couple ways to use this area. You can use the "layer visibility" area in the layers palette, the "eye" next to the layer. Toggle this on to see the black 5x7 area.

and then click on the eye to turn it off.

- You can also just put that 5x7 layer at the bottom, then when you have the arrow "move tool" selected, if you click on the layer you will see the "outline" of the layer.
- Either way will work, you just want to be able to see the specific area that will show through the frame.

- I next placed the papers and elements where I wanted them in the frame.
- I really liked the "naked" chipboard figures in the kit, and chose the dove for the focal point.
- I wanted to add a little bit of interest and color the berries. Create a new layer above the chipboard dove CTRL>SHIFT>N. Choose the brush tool and color, add the dots to the new layer, lined up with the dove layer.


Mention this ad and get free May Arts Ribbon with your first order at The Shaker Box!
I wanted the berries to blend a little more with the chipboard, so I changed the opacity of the berry layer until it seemed right to me.

- To add realism, the next step is to add some drop shadows to the elements.
- The default shadow size in PSE 4 is 21, far too large.
- After choosing the drop shadow, click on the format circle and adjust the shadow size in the format box that opens.

Print your final creation.

- Insert your photo inside the frame,
- I attach with a little tape on the inside so that it won't slide around.
- I also used a stamp by Stampin Up that reads "be merry" to add a little more interest to the frame.


Supplies List:
Adobe PhotoShop Elements4
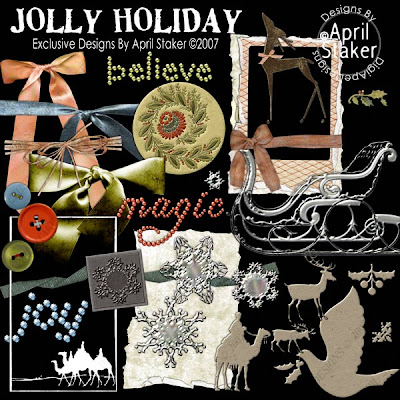
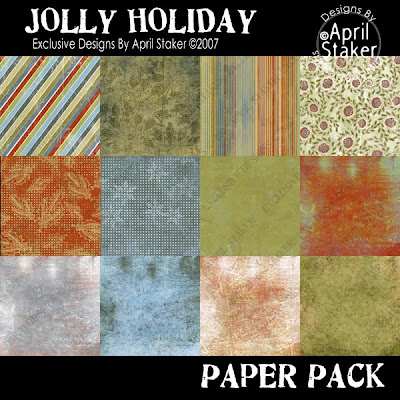
"Jolly Holiday" kit by April Staker
Stampin Up stamp set
Staz-on ink
frame with 5x7 matting
Please look at our sponsors products!

It makes our day to received comments from our readers! Please take a moment to tell us what you think!!!! Enjoy your new knowledge.


No comments:
Post a Comment