Get Your Ideas for Handmade Gifts Here!

For a quick and simple gift, try recovering a pocket calendar! I picked up several very inexpensive ones at my local craft store that have a removeable vinyl cover making it really easy to slip in a digitally scrapped custom cover! You could also do this with clear checkbook covers!
Screenshots are from Photoshop CS3, but you can achieve similar results with other software.
* My printer isn't cooperating at the moment and I had another large item I wanted to get printed so I have done this tutorial for a 12x18 page. However, this project would be ideal for printing at home on an 8.5"x11" piece of cardstock or photo paper!
Supplies
* Pocket calendar with removable vinyl cover
* Digital scrapping supplies of your choice, I've used April Staker's Jolly Holiday
* Ruler
* Color printer with cardstock or photo paper, or send image to a photo processor
* Scissors or paper trimmer
Instructions
1. Remove the pocket calendar from it's vinyl cover. Open it and measure the cover. Mine measures just under 7.5" square.
2. In your software program, open a new document the size of the paper you will be printing on. Make sure you have it set to 300ppi.
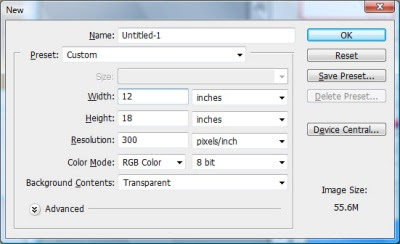
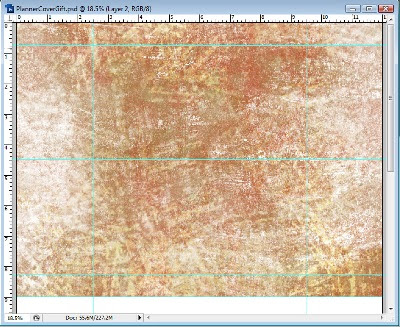
3. Bring in the digital paper you'd like to use for your cover's background.

4. Set guides so you can see how the completed cover will sit on the page.
- You'll want to make sure your background paper extends past the guides so you don't have white edges peeking through, but you don't want your photos, elements or text accidentaly chopped off.
- In Photoshop, set the guides by selecting the View menu and choosing New Guide.
- The guide location will depend on your pocket calendar's measurements and the size paper you will be printing on.
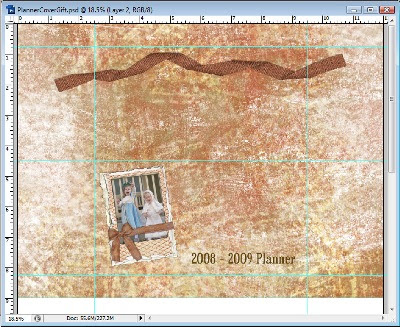
5. Arrage your photos and elements as desired. Remember any text or elements you place on the back cover should be rotated 180 degrees so they don't appear upside down when the cover is complete and folded.
6. Print your cover! Here's mine as I received it from the printer.
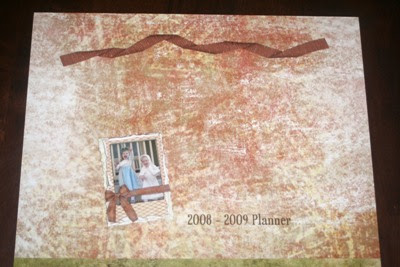
7. Trim carefully and use the pocket calendar's original cover as your guide.
- It's best to leave the cover a bit large and
- make tiny adjustments after rather than trim off too much.
- A paper trimmer is ideal to give you nice straight edges.
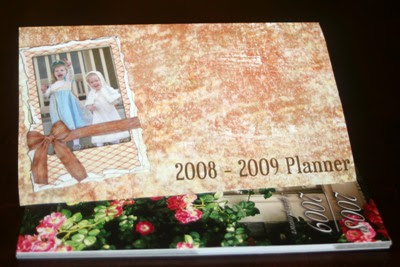
8. Once you've trimmed your custom cover, fold it in half, place on top of the calendar, and reinsert it into the vinyl cover.
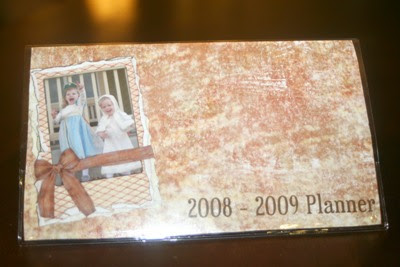
Another great thing about this project is that it's easy to update and replace the cover as desired. You can make new seasonal covers with recent photos every few months!

Mention this ad and get free May Arts Ribbon with your first order at The Shaker Box!
It makes our day when you leave comments for us! Also sign up for our newsletter today!


No comments:
Post a Comment