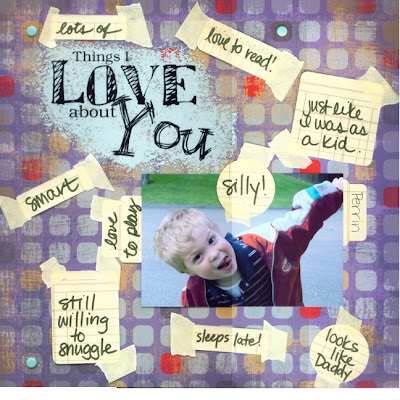
Fresh Idea: Adding Paint to Your Printed Transparency

Most of the transparencies that you find on the market contain frames or flourishes, but there is so much more you can do with transparencies when you make your own! I love using transparencies with word art on my hybrid layouts. April Staker, our sponsor for November, has a fun assortment of Word Art in her "BoysNKids" Element Pack. I chose one of the elements to use on a layout about my son.

- When printing your own transparencies, be sure to buy blank transparencies that match your printer type.
- Inkjet transparencies have a textured side that grips the ink better, but using ink jet transparencies in a laser jet printer can gunk up the drum, due to the heat generated by the printing process.
- I printed my word element on a transparency,
- then stippled some paint onto the back side of the transparency.
- This helps the title stand out more from the patterned paper, and the messy look works well with a layout about a 4-year old!
- You can leave the whole sheet intact, or cut out elements and attach them seperately. Experiment!

Mention this ad and get free May Arts Ribbon with your first order at The Shaker Box!


No comments:
Post a Comment