Clearly Fresh Ideas for Hybrid Scrapbooking with Transparencies

Freestyle Hybrid Scrapbooking Class
{using 15 transparent items in one layout}
with Julie Ann Shahin, Founder
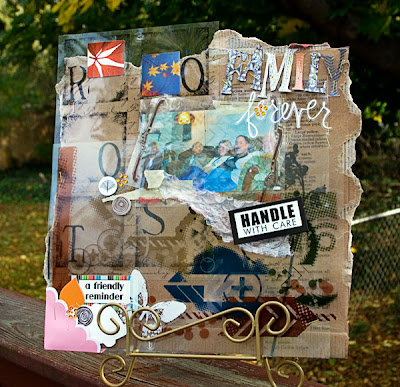
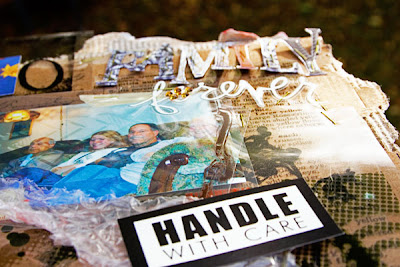
My layout is titled: Roots: Handle With Care
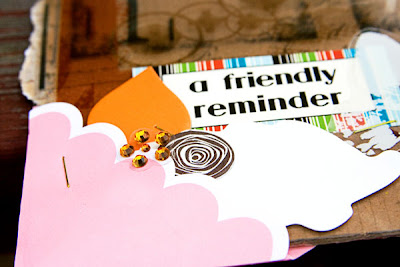
See below for larger images
See below for larger images
 Transparencies have been the rage for several years now, however new "out-of-the-box" ideas are still emerging. Recently scrappers were challenged by The Dares to scrap with eight transparent items. This week we will be bringing you NEW hybrid ideas for scrapping with transparencies - try them if you dare!!!
CLASS INSTRUCTIONS:
- I buy 12x12 transperencies and cut them to 8.5x12 in order to fit them in my standard printer.
- My new document size will be 8.5 inches wide by 12 inches high. (Actually, my epson printer will tell me at the exact measurement of 8.5x12 that some of the edges will be cut off so I get around that by making my new document 8.2 x 11.5)
2. Click on the brush tool. Load the brush of your choice. I am using Amanda Sok's Techno Grunge Mini Sets 1 and 2.

3. Add a new layer before applying the brush. I add a new layer for each different brush so that I can change that layer later if I want and not change the rest of the layout.

4. To use the second set of brushes, I have to go through the load process again.

Here you can see that each brush was put on it's own layer. Save this without flattening as a .psd file.

5. To print, I change the paper size by going to File-->Page Setup. For paper size, I chose "User Defined", then click on "Printer" in the lower right corner.

6. Click on "Properties". Under Paper Options, even if the size says "User Defined" go to the drop-down box and click on "User Defined" again - which brings you a pop-up box. For Paper Height, change the value to 1200. Click OK. Repeat clicking ok until all the page setup boxes have closed.

7. Go to File--> Print. The Print Preview pops up for my Epson printer and I can see that my design fits on the page.

8. Make sure to set your printer properties. I chose Best Photo, and Inkjet Transparencies at my Paper Type. For inkjet printers, if you use Scotch Brand Transparencies - put the transparency into the printer so that the printing will go on the rough side. For other brands, read the manufacturer instructions.



Mention this ad and get free May Arts Ribbon with your first order at The Shaker Box!
9. To give my photo the look that it has a transparency over it I add a new layer by holding down the "alt" key while clicking on the "Create a New Layer" button on the layer palette.
- When you get a pop-up box, change the mode to soft light.
- Click the box next to where it says "Fill with Soft-Light-neutral color (50% gray)".
- When you do this a grey layer appears above your photo but does not cover the photo.
- Using the brush tool, I apply my Techno Grunge brush to this gray layer.

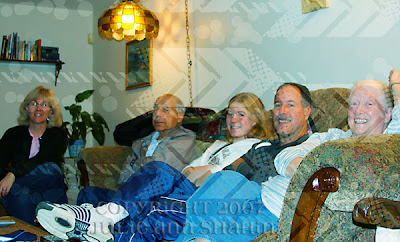
10. Here is what the layer palette looks like. Layer 2 shows with my Technogrunge brush applied. Layer 3 is the same technique using a hard round brush painting white over the whole gray layer. This lightens the photo which I wanted because the photo was dark.

11. To crop my photo, I use the shape tool and select Geometrical Guides.


12. To keep the correct proportions, hold the shift key as you create the shape of the geomtrical guide. I chose this particular guide because of the larger width than the other guides.
- To crop, use the crop tool and place it over the outer edges of your geometrical guide.
- Click the check mark to confirm the crop.
- I printed my photo on 4x6 glossy photo paper.

13. I tore a piece of cardboard to 12x12 then sprayed it with Krylon "Make It Acid-Free" I stapled most of my transparent items or used masking tape to attach.

This layout contains:
1 custom transparency designed by me
1 digital transparent overlay on photo
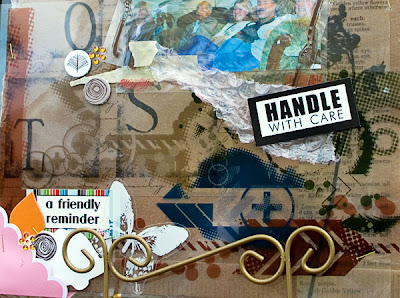
2 Narratives Transparencies
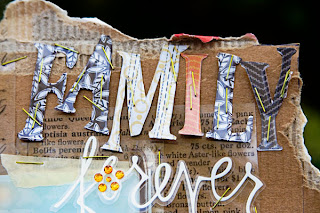
6 Heidi Swap Ghost Letters (Family) backed with paper from the Zingboom Kit Whimsy Woods
1 Heidi Swap acrylic word (Forever)
2 MME Bohemia Transparent Frames
1 MME Bohemia Transparent Butterfly
1 piece of bubble wrap
___________________
15 Transparent Items
Have you been inspired by our blog? Share with us what you create at our NEW Flickr group:
http://www.flickr.com/groups/everydaydigitalscrapbooking/
http://www.flickr.com/groups/everydaydigitalscrapbooking/


No comments:
Post a Comment