Hybrid Tutorial: How to Create a Customized Shopping List for You!
Supplies Needed:
digital patterned paper by Sarah Meyer, Sweet Daisy available at www.gottapixel.net/store;
color printer; paper; small piece of cardboard; small length of twine or ribbon; hole punch; scissors or paper trimmer; magnetic strips with adhesive side or glue
Instructions:
1. Open a 8.5inx11in 300dpi canvas in Photoshop.
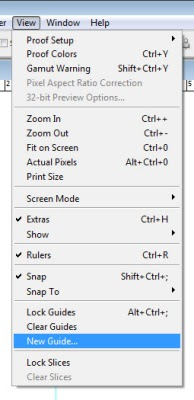
2. Create guides to separate the large page into smaller pages. Select "New Guide..." from the View Menu. Set a Horizontal Guide at 1650px and Vertical Guides at 850px and 1700px.
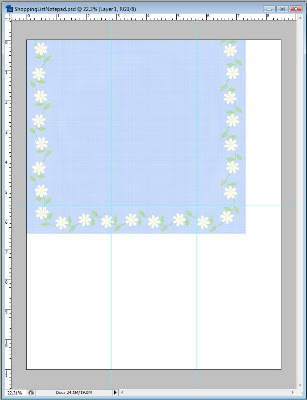
3. I want every page to look the same, but you could easily fill each section of your large page with different papers or embellishments. I simply brought one piece of paper onto my canvas and resized it to 61.1% to make the border pattern the size I wanted. Then I aligned it to the left edge of the background.
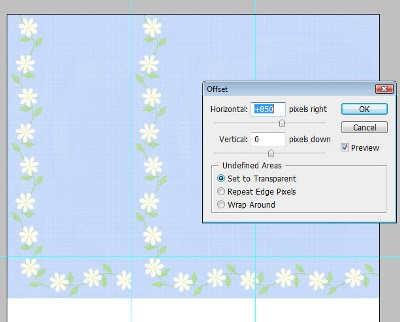
4. If you are want the same paper on each page, dupicate your layer and run the offset filter. Filter>>Other>>Offset... Choose a Horizontal Offset of 850px, a Vertical Offset of 0px and Set the Undefined Areas to Transparent. Duplicate your paper again and select Ctrl+F to rerun your filter and shift the paper again.

5. Duplicate those 3 layers and merge them into one with Ctrl+E. Switch to the Rectangular Marquee tool (M) and using the Guides as your reference, select the section of paper BELOW the middle horizontal guideline and hit Delete.
6. Select Edit>>Transform>>Flip Vertically. Then use the Move Tool (V) to shift it this layer into place, using the guides as a reference. As long as you have View>>Snap To>>Guides checked it should easily move into the proper spot.


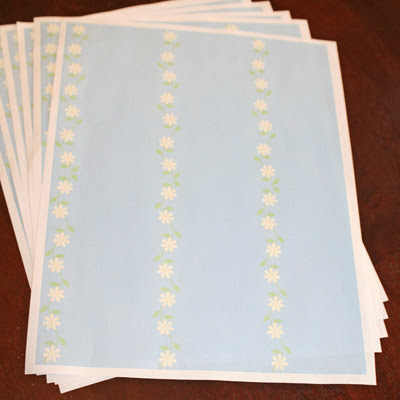
7. I printed 6 copies of my page, you can print more or fewer depending on how thick you want your notepad to be (you might also make several, for yourself or as a gift). My home printer can't print edge to edge so it automatically shrinks the image a bit, leaving a white border. I trimmed this off with scissors, but a paper trimmer would be ideal for this.
8. I simply folded one page in half horizontally and in thirds vertically to give myself guidelines. I cut on those lines and then used the resulting small page as a guide for cutting the copies and the cardboard. Then I folded the top edge of one small page vertically and punched a hole so the two holes would be evenly spaced and centered on the page. I used the holes on this page as my punching guide for all the other pages and the cardboard. I reused magnets from an old refrigerator notepade I'd used up, so I had to glue my magnets on to the cardboard.
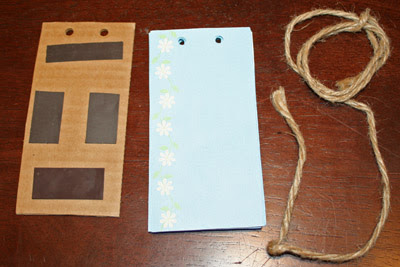
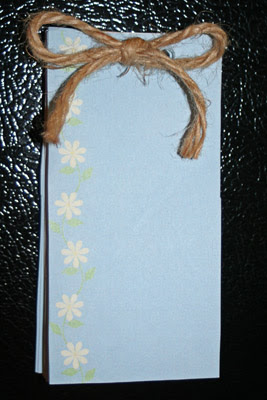
9. Now use your ribbon or twine to attach the pages to the cardboard back and tie a nice bow!
Please let Sarah know how much your appreciate her instructions with a comment! Thanks!!!


1 comment:
Very cute! Thank you. The shopping list on my refrigerator is just about gone. Can't wait to make my own.
Post a Comment