Let's Alter! Home Decor Idea today...
Join in...get your Scrapbook Dimensions 16-Month Planner and see what everyone is talking about!
 How to Alter a Frame with Digital Scrapbook Products
by the rockin' Julie Kelley, Creative Team Member

If you love to alter items, and you love all the digital kits and elements that you have in your stash, then it's quick and easy to use those digital kits to create altered items!
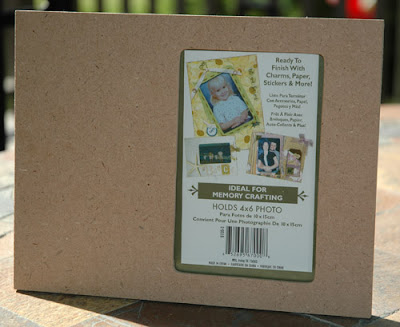
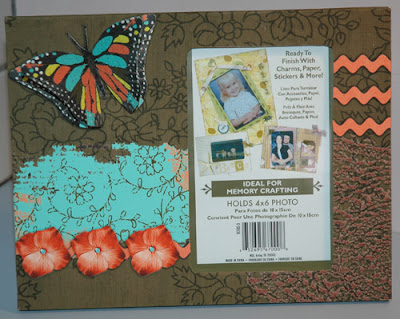
I had this unfinished frame that I wanted to alter as a gift for a friend. I found papers and elements that my friend would like (Royanna Fritschmann's "Where I Live" kit).
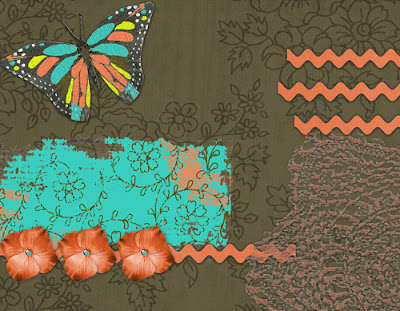
After I decided on the kit, I measured the frame, and created a new canvas that was 9x7 (the actual size of the front area of the unfinished frame. I filled the area with papers and elements from the kit, keeping in mind where the hole for the picture was. I will be cutting out the hole, so I just let the elements go into the space that will be cut out.
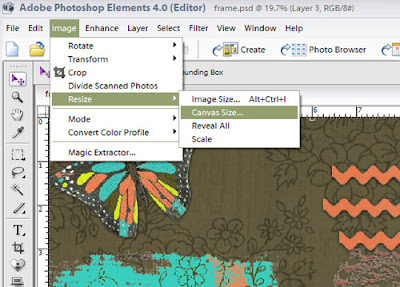
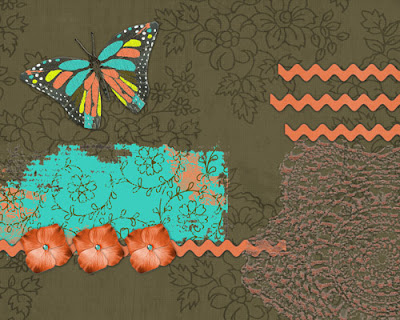
When I print the "page" I want to be able to fold it over the edge of the frame to make a nice finished edge, so I want the design to wrap around. I resized the canvas so that it was an inch bigger, when you resize, be sure that you choose to keep the image centered, this way it will add half an inch all the way around. It will keep all your elements right where they were, but add an edge around. If your background paper doesn't fit, move that layer over a little until it does.
Here's what it will look like:
I wanted some dimension to the final project, so I created a blank canvas and dragged over the flowers and the butterfly (I had resized them, so copying from the frame was important so that they would line up correctly on the finished project). Placing them in the center of the blank canvas, I will print this, cut out the elements, and place on the finished frame, folding them out a little so that they will stand out.
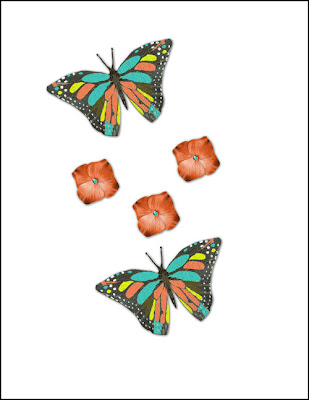
Print both pages, I used a heavy weight matte paper, I like to use a matte mod podge to attach papers to my altered items, and the heavier paper is easier to work with and will wrinkle less.
Once printed, lay flat on the table, line up the paper, and trace the photo hole. Cut out with sharp scissors or an exacto knife. Use the matte mod podge to attach the papers. Cut out the extra butterflies and flowers, partly fold the butterflies (so that the wings will stand up off the frame, and attach with glue dots or your favorite adhesive. Do the same with the flowers.
Replace the glass in the photo area, and you are finished!!
If you enjoyed this tutorial, please leave feedback as this is a free service for you!


No comments:
Post a Comment