How to Create Blog Headers
- The first item is to figure out what size you want to make the header.
- Second item you need to decide is where to store the image in a photo storage site such as photobucket or flickr.
- Last thing to know is where to insert the url.
I am using blogger and I have created my header to be 768x300. Here is what is looks like currently.
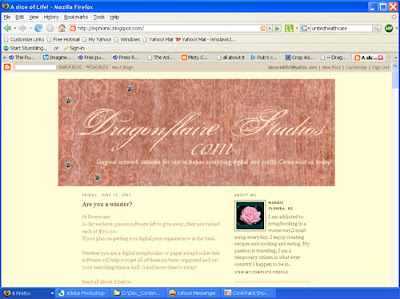
I am going to be changing the header to reflect the same header as the store where I sell my designs.
Let’s begin
1. Open your graphic software to the size you need and create a layer and flood fill with the chosen colour.
I am going to be adding patterns to the layer to give it depth and dimension.
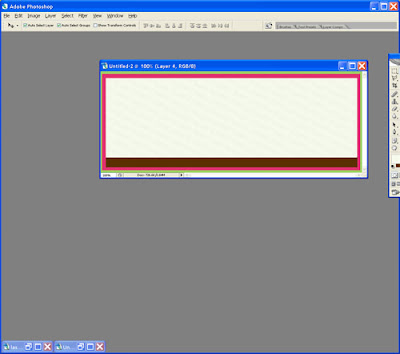

2. In psp select the layer and duplicate, then select effect, texture effect, sculpture, I select a pattern I had created, then my size is very big I want large effects of 300, Angle 310, Intensity 40 and leave everything else as default, hit ok.
3. On the layer palette change the opacity to soft light
4. Next step: I created a square and flood fill with a different colour and added another pattern the same way as the step above. I added the text, then a brush at the corner.
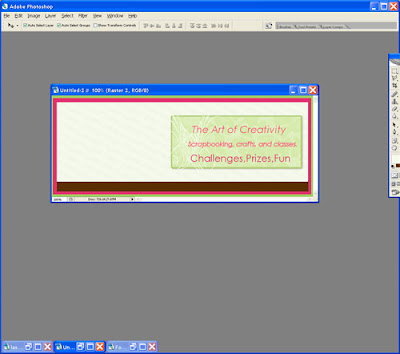
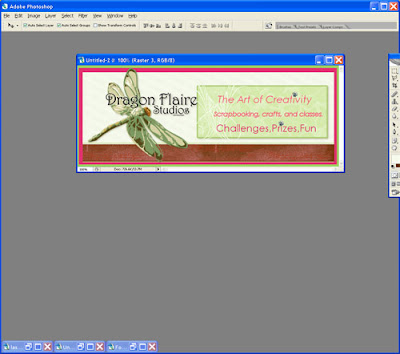
Next I added the logo of the store on a different layer, then added more text and embellishments each on it’s own layer.
Then I saved as psd and open in Photoshop to use the layer styles. You can achieve a similar shadow by adding each shadow on it’s own layer as well.
Once done merge all layers and save as jpg.
Next step is to upload the header onto a storage site either flickr or photobucket and capture the link of the url, we are going to need it.
In Blogger I select the template settings once I signed in.
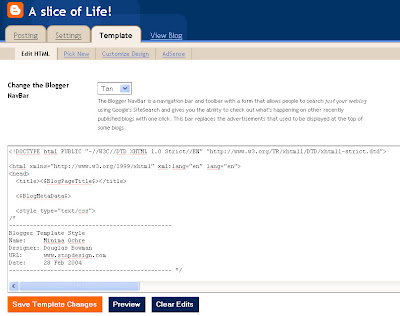
What you are looking for in blogger is the code below to insert the url as below.
/head
body
br br br
img src="http://i108.photobucket.com/albums/n31/mphoinix/blogheader.jpg"
!-- Begin #content --
div id="content"
Here’s what the blog looks like with the new header

I went a step further and changed the background of the blog here’s the code below to look for.
body {
background:#fffed7;
margin:0;
padding:40px 20px;
you can see the blog result at mphoinix.blogspot.com
Have fun, create your ART
Maggie
Please leave Maggie feedback as we work hard to bring you free tutorials every weekday!


8 comments:
Hi Maggie,
Well you inspired me, I finally changed the header on my blog instead of using the one that came with the template. I actually wanted to see if I enjoyed doing the blog thing and then I would host it on my own website and have complete control of the css and html - but I am enjoying it so much decided to go ahead and change the header.
joeanns
http://www.joeannswordpress.com
if you want to see my results
Thanks so much for these tutorials
This is great! I've long been wanting to personalize my blogger but totally don't have any techie skills to help me do just that. So I really appreciate your tutorial. One question: will it work in blogs that aren't on blogspot, like wordpress for instance? THanks!
Hi Liv,
Here is an article written about blog headers for Wordpress. I hope it has the information you are looking for!
Oops forgot the url
http://codex.wordpress.org/Designing_Headers
Thankyou so much, I only created my blog a couple of weeks ago and this was just the help I needed to create the header I wanted.I am so grateful. great work.
Liddy
I can't find the code to enter my url. I'm also using blogger. Am I doing something wrong?
Thank you for the great advice!
You can check the blog headers I created thanks to you here, they're free if you like them:
http://www.coolblogheaders.com/
Post a Comment