Creating a Digital Kit from Scratch Part 2
Digital Kits 101 Continued
by Julie Kelley, Creative Team Member
by Julie Kelley, Creative Team Member
Once you have your papers finished, it's time to create some fun elements to go with them. There are many actions that you can use to help you get started, but if you know your program well enough, you can re-create them yourself. Atomic Cupcake has several of her actions for free on her site: http://atomiccupcake.com/catalogactions.php?type=free
For my color scheme, I was thinking "beach" so I wanted to create a chipboard element that went along with my theme. If you are going to use actions, make sure that you read the TOU, and install them correctly for your program.
First create a new canvas that is approximately the size you want your element to be. Mine is 3x2 for a little fish accent that I wanted to make. As you did with the paper, use the color picker and the paint bucket to fill the canvas.
choose the cookie cutter tool, and a shape to use.
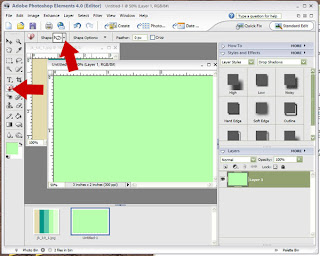
once you use the shape on the background, and you are happy with the placement, click the checkmark.
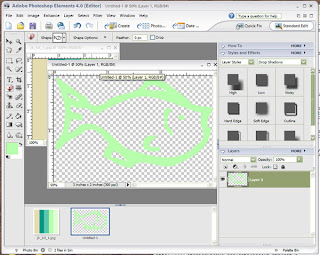
I wanted to fill in the empty spaces on my fish with another color, again using the color picker and paint bucket.
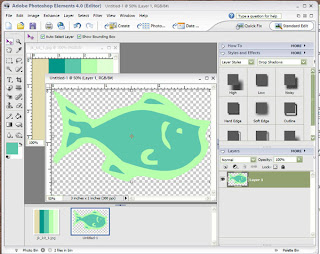
Choose the action that you want to run (I used Atomic Cupcake's pristine chip action).
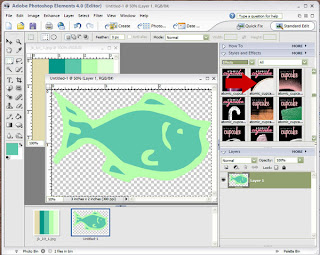
The action will open in a new window, and create a new document with your chipboard accent in it. Once the action is complete, save the new file as a .png file which will keep the edges transparent.
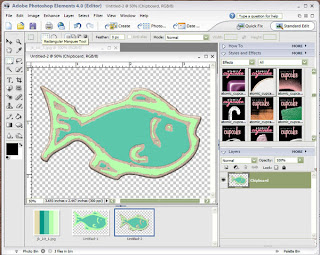
Continue creating elements until you have everything that you want in your kit.
Special thanks to Atomic Cupcake!
Julie has been gracious to offer us a free kit based on this tutorial! Download here.
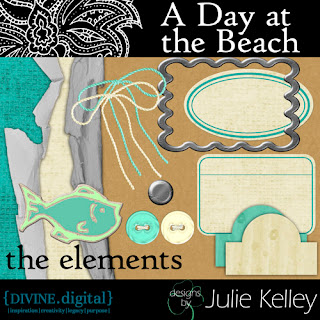
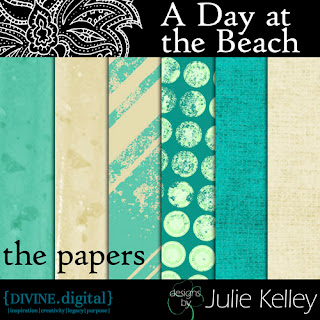 If you download the kit, please show your appreciation by leaving a comment! Thanks!


14 comments:
Thanks so much! Is there a way to get the cookie cutter shapes in PSCS2 or 3?
Hi Shell! I use PSCS2, and it does not have the "cookie cutter" function that PSE has. However, there are some built in shapes that could be used in the same way. If you right click on the Shape button on the palette, and choose Custom Shape, a drop down menu appears at the top with lots of shapes. I used some of these shapes in my pirate hat tutorial from last week. Also, you could install some fun dingbat fonts, and use those shapes too.
Hi, Julie! Thanks for the great tutorials and lovely kit!
In PSCS there is a custom shape tool also (not called the coolie cutter tool) and in the tool pallette it is in a drop down menu behind the rectangle tool, so if you click on the tiny triangle in the tool box, the custom shape box will come up.
Beautiful kit! Thanks bunches!
This is great! I'm hoping to get some time to play with PSE and try all this out !! Thanks :)
Nice Kit .. grabbed it.. thanks a lot
Thank you so much for the tutorial; I've wondered where to even begin on a kit and you make it sound possible! And thanks for the kit as well. It will be great for my beach photos!
great colors and textures, and I love the beach! This really captures it.
Thank you so much! I love the kit and great tutorial
Thank you very mucho! great kit and I love the tutorial
thank you very mucho! great kit and I love the tutorial
love it
great kit and great tut! thanks a bunch. :)
Post a Comment