CT's Choice: Fun With Digital Brushes
Editor's Note: This week I allowed the team to create tutorials on the subject of their choice! Check back for tutorials on Brushes, Actions, and Hybrid Scrapping!!
Brads from the Botanical Garden @ Dragonflaire.com
Letter R from the Flea Market kit @dragonflaire.com
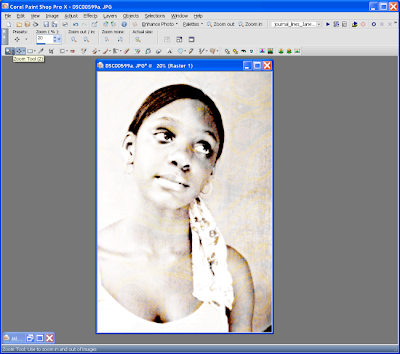
Brushes are not just for adding elements you can also use brushes to erase or add dimensions to a layout. With this picture the first thing I did was turn the pic into a black and white pic, there's a great tut on the site for that as well.
Then the second step I added the paper.
Please follow the tutorial for blend modes. I added the paper to the pic and change the blend mode to burn. Duplicate the layer changed the blend mode to everlay, then merge the layers.
Here's where the fun begins with brushes and your eraser tool!
At this point the paper was covering the face and I don't want the face to be covered.
I select my eraser tool and select a deckle soft brush and erase around the face using a flow of 45% to give me really soft erase, and texture.
Around the hair area I select a grunge brush I had created and left part of the texture on the hair and just erase the hairline.
Around the neck and shoulder area I used a textured brush to erase the paper at a very low density of 35.
At this point I can leave it as is or play some more. For this tutorial I used another brush with the eraser and created a border.
Other ideas you can use I added another layer underneath the paisley paper to give it more punch. As you can see in the third example the paper looks pretty kewl uh! This is some of the things you can do with the eraser tool and brushes. Another thing I love to use my brush for is to use it to cut out a paper, these are some ideas of using brushes.
Have fun create your ART!
Maggie
PS Please send us some links of how you have used this tutorial.


1 comment:
great tut maggie, i love what you did with the brush!
Post a Comment