How to Use the Clone Tool to Enhance Old Photographs
Photoshop/Elements Tutorial
by Cammy Plummer, Creative Team Member
by Cammy Plummer, Creative Team Member
Our focus on scanning turns to scanning in and enhancing old photographs. We know you have boxes and boxes! Digg them out and let's see them scrapped!

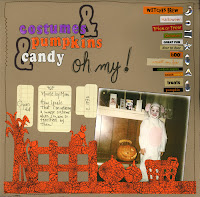
Costumes & Pumpkins & Candy... Oh My!
The photo on this layout was an old polaroid that was too dark and had scratches on it.
Instructions
1. Scan photo at 600 dpi.
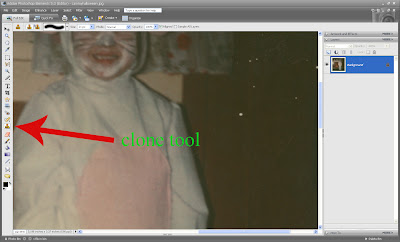
2. Zoom in close and use the clone tool to fix and scratches or dust on the photo.

3. Use Levels to adjust the colour.
4. Use the chalk action from Atomic Cupcake on the photo.
5. Print photo and attach to background.
6. Stamp on die cut.
7. Add journaling, title and other page elements.
8. Sew around the border of the page. Stop part way and switch to a zig zap stitch.
9. Ink edges of page with a stamp pad.

Credits
Die cut and letter stickers: Creative Memories
Foam stamps: Li'l Davis Designs
Stickers: Making Memories
Journaling spots: Advantus
Rubber Stamp: Great Canadian Stamp
Stamp ink: Stampin' Up!
Pen: EK Success
Action: BriAnna Shultz, Chalk, Atomic Cupcake
Other: thread; jewels

Visit Our Sponsor: Suzz' Stuf4U

Visit Our Sponsor: Angela Sharrow


1 comment:
I have yet to scan my honeymoon photos. Some are bent & scratch, so this is very helpful. Thanks.
Post a Comment